 OriusBotHelp center
How do I create a role selector (a menu where everyone picks their roles)?
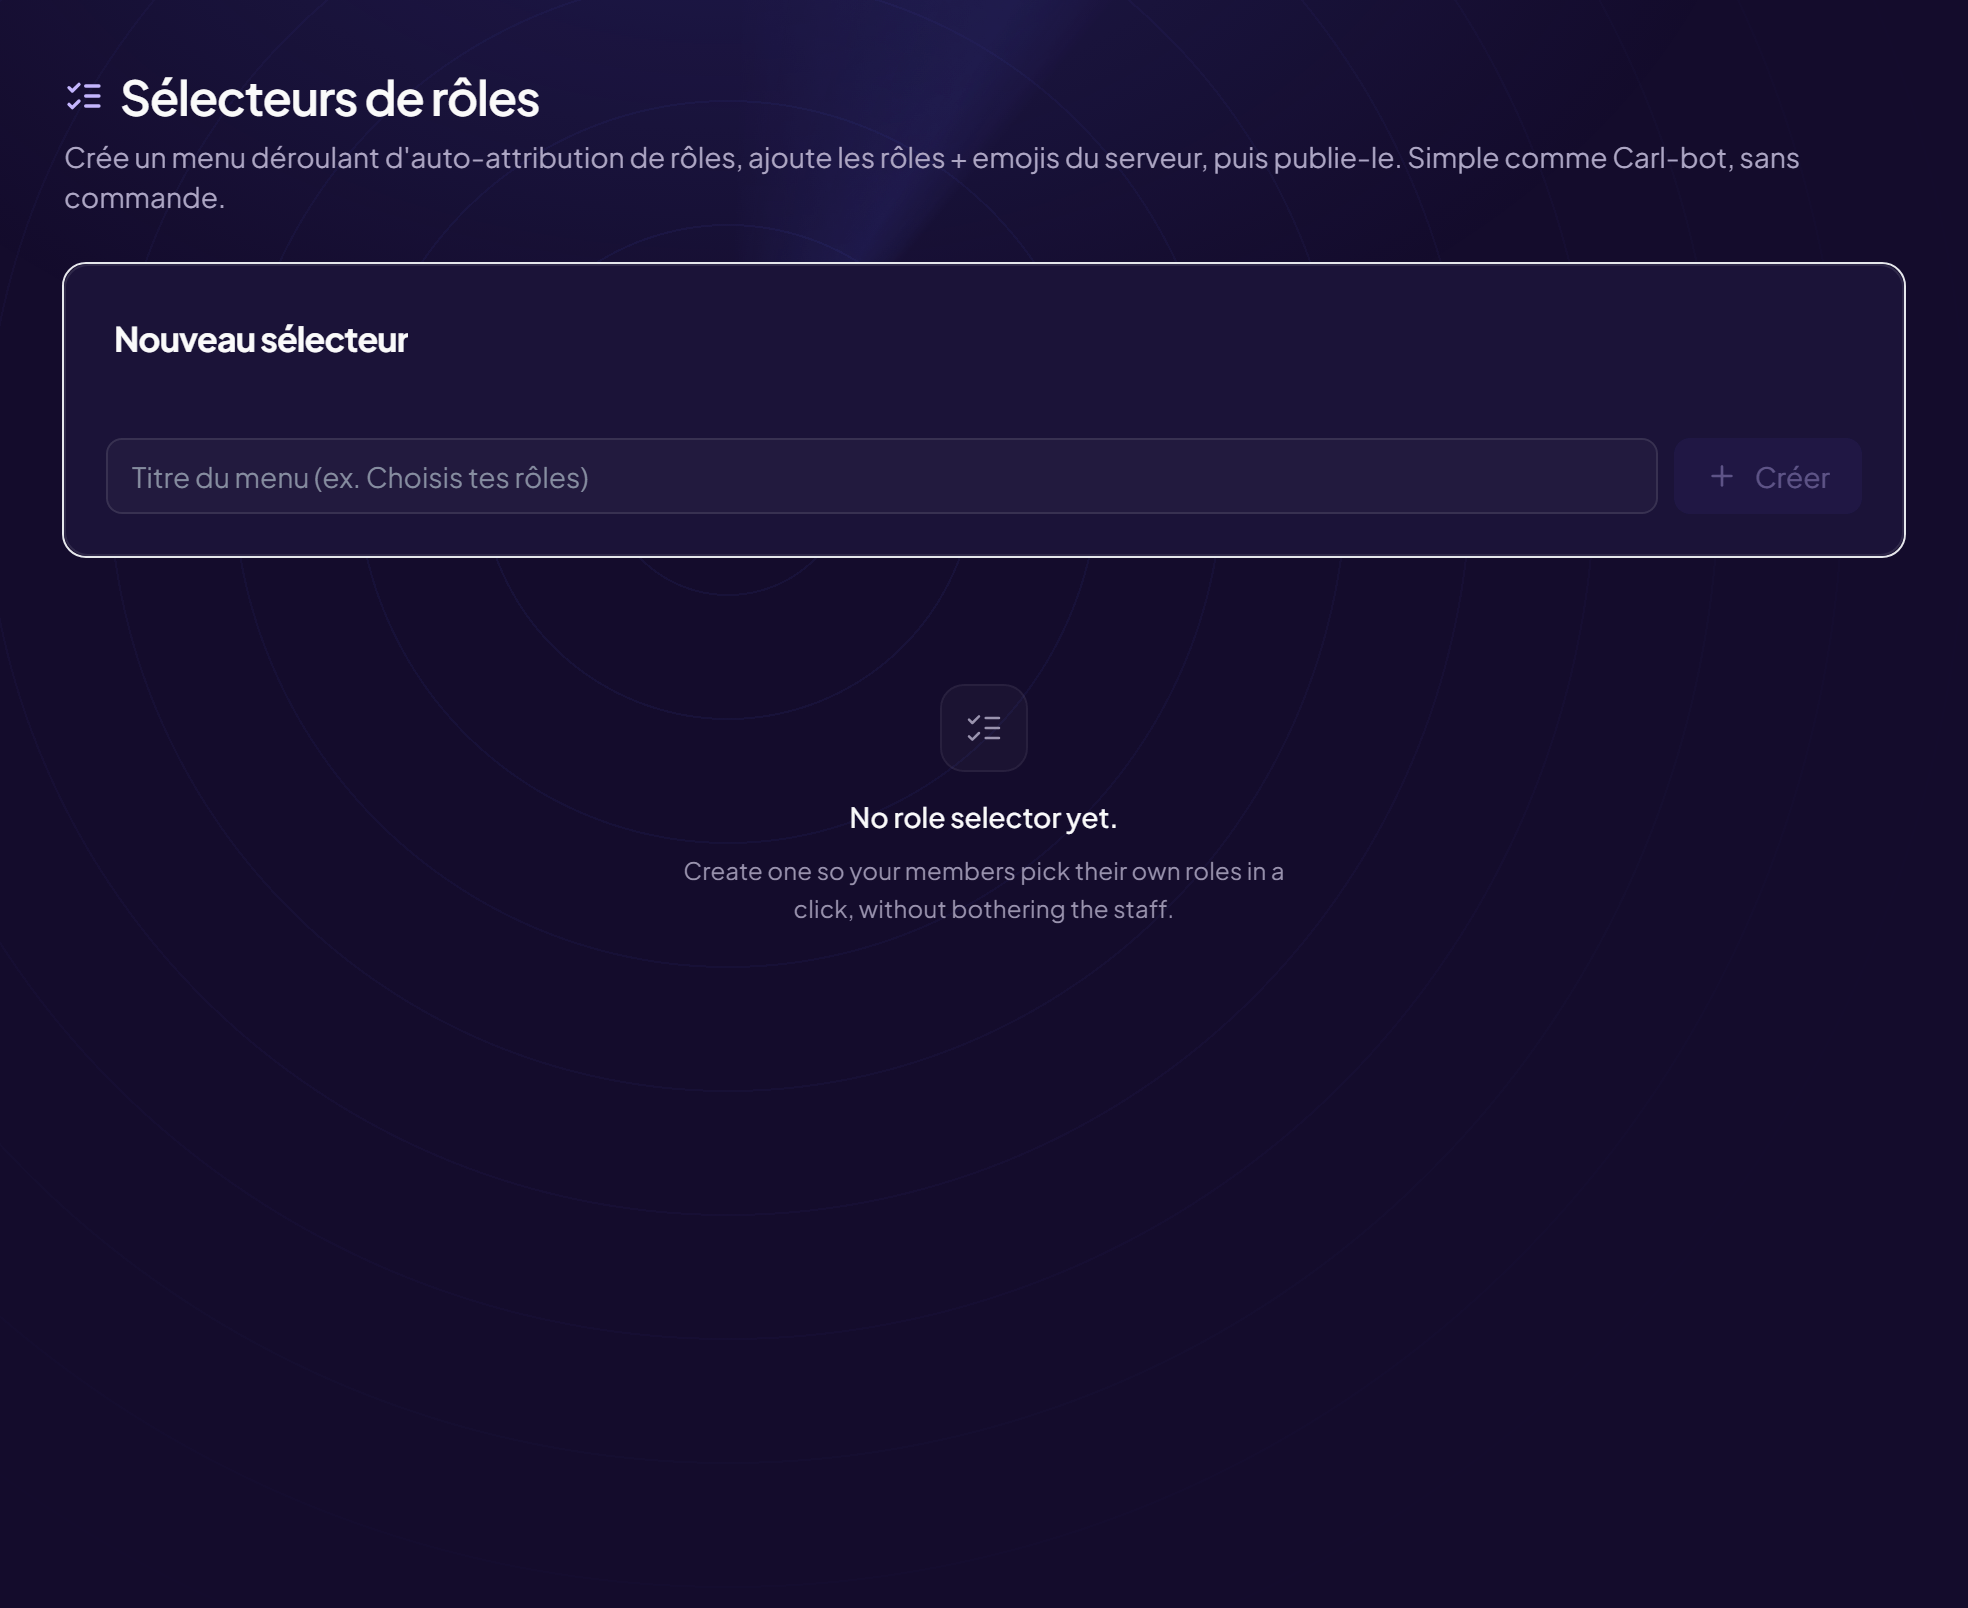
A role selector is a message where your members choose their own roles in one click (games, notifications, nickname colour…), without bothering your team. It is created entirely from the panel, with no command.
Create a selector
- Open the page Members › Role selectors menu. With no selector: “No selector yet”.
- Click “New selector”
- Type the menu title
For example
Choose your games. It also serves as the message title. - Click “Create” The selector appears in the list, marked draft until it is published.
Add the roles
- Open the selector
- In the “Roles” area, choose a role “Choose a role…” list.
- (Optional) Fill in the row’s fields
• Label: the text displayed (empty = the role’s name).
• Section: to sort roles by category (Games, Notifications…).
• Emoji: shown in front (type the emoji, or<:name:id>for a server emoji). - Click “Add”
The Live preview shows the message as it will appear on Discord (“Add roles to see the preview” while it is empty).
Publish
- Choose the “Publish channel”
For example
#roles. - Click “Send” The message is posted. The selector switches to published.
Edit after publishing
Change the roles or the texts, then click Republish to update the message on Discord. Delete removes the selector (a “Delete this selector?” confirmation is requested).
The bot’s role must be above
To give a role, OriusBot must be above it in Discord’s role list. Otherwise the click fails. See troubleshooting.
Still stuck?
Contact support with the title of this article, the step where you are stuck and what you see on screen.
Contact support More articles: Welcoming membersLast checked: 13 November 2026.